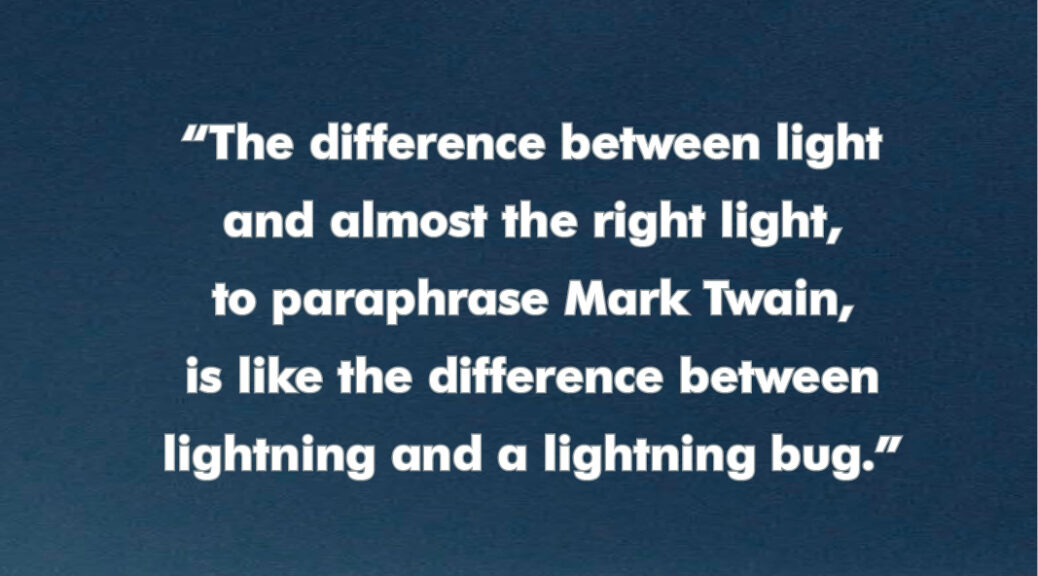
The difference between light and almost the right light, to paraphrase Mark Twain, is like the difference between lightning and a lightning bug.
Unmodified sunlight is always almost right, which is its temptation and its failure. Yes, most outdoor photographers still use daylight as-is, never considering how easy it is to bend it, dial its intensity up or down, change its color temperature, extract selected light waves from it, diffuse or focus it, change or reverse its direction, mix it with other light sources, bypass it or enhance it. All this and more can be accomplished by either supplementing or screening the light with simple outdoor photography lighting techniques. Skillfully used, sunlight can be as flexible as studio light. Often these techniques provide that one extra bold stroke that is necessary for the quantum leap from ordinary to excellent action shots.
Outdoor Photography Lighting Technique No. 1: Redirect Light
Redirecting sunlight with a reflector is one of the more effective ways to change the quality of sunlight. For instance, suppose your subject is backlit with little detail showing on the facing side. You could expose for the shadows, but at best that gives you lousy contrast, but retains background density as well.
Several types of reflectors can be used with a variety of effects. Large white reflectors absorb some light and reflect some, thus balancing the light distribution more evenly between the subject and its surroundings. There are some excellent reflectors that collapse to a compact size for the outdoor sports photographer manufactured by Neewer, Etekcity, and Selens. These companies also sell clips to attach the reflectors to your tripod. Manfrotto and Godox make combination reflectors, which include silver, gold, and black (no) reflectance, as well as white. Dean Collins, “Master of Lighting,” offers plans for making your own. Dean Collins’ YouTube videos are master classes in lighting and well worth watching. For the budget conscious, a reflector can be made out of PVC pipe, using large sheets. Or you can use foam-core board normally used as picture backing, found in frame shops, also work well, are light to transport and are inexpensive. In practice, almost any large white surface on hand will suffice. The only requirement is that the board must be used as close to the subject as possible without showing in the frame.
Silver reflectors return more light and offer several advantages. For one, they are more effective at greater distances from the subject. They also provide a sharper light source, which results in greater contrast and detail. In fact, the intensity of the light can even be increased by concentrating it on a specific area, thus allowing underexposure of the background-a powerful tool at your disposal. This technique can be used to separate the subject from its background, shift emphasis in the picture, erase busy background detail, highlight a selective area and for countless other refinements
.
Various substitutes can be used, ranging from window glass, stainless steel, more mirrors that concentrate light enough to spot-focus it. What makes silver reflectors particularly easy to work with is that you can see further results and monitor them visually, making adjustments until you are satisfied. Occasionally I use my gold reflector, especially in warm afternoon light, but the results are less easy to monitor.
Manufacturers mentioned that make reflectors include Neewer (neewer.com) and Etekcity (etekcity.com). Selens makes a collapsible silver reflector that can be purchased through Amazon. Although collapsible reflectors are handy, I more often use my umbrella-style 33″ reflector. I just feel it gives me more control over redirecting light. And it slides into the same nylon sack as my tripod and is no extra trouble to carry.


